Mr. Johnson's Art
INDESIGN: SONG LYRIC ART
Choose Your Favorite Song Lyrics and Create Art!


Step 1
Using the program InDesign, you will create art out of Song Lyrics using only text.
At the end you should end up with something like the samples above!
Don’t be afraid to use COLOR or BE CREATIVE!
PLEASE MAKE SURE IT IS SOMETHING I CAN PUT ON MY WALL (School Appropriate!)
First, Open InDesign by clicking the icon that looks like this:

At the first screen you see, choose Create New Document.
Click the Page Size arrow and choose Letter.

Make sure that the Orientation is Landscape. Then click OK.
This is your 8.5 x 11 “Canvas“, just like in Photoshop.
This is your “paper” that you will be working on.
Notice the TOOLBAR on the left. It’s similar to Photoshop’s.
If you mouse over each tool, it will tell you what it is, just like in Photoshop.
Step 2
OK, it’s time to create your SONG LYRIC ART!
When you finish, you will have something that looks something like this:
So choose your SONG LYRICS that you will create your art with!
It’s OK to look on the Internet to find out how they wrote and spelled them.
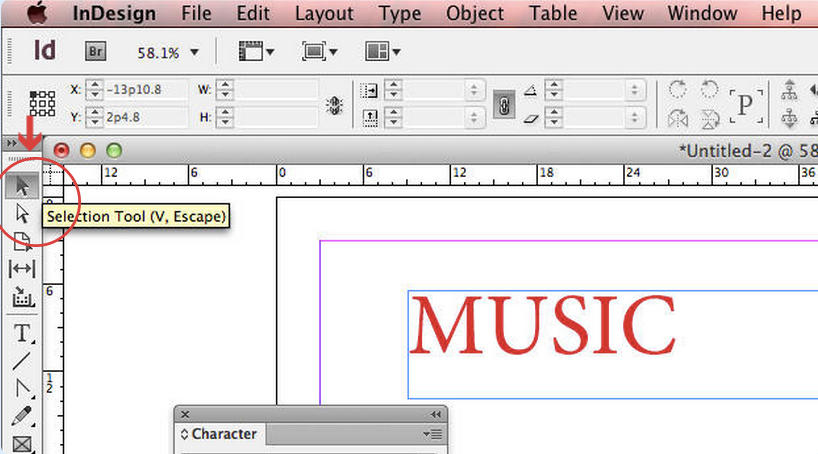
Select the TYPE TOOL or hit T.
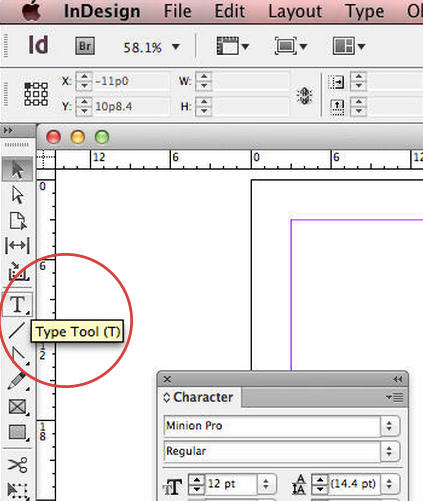
Click and hold the mouse button down on your canvas and draw a box.
Choose a SIZE (start with about 72) and FONT for your first word or sentence.

Type your First Word or Sentence.
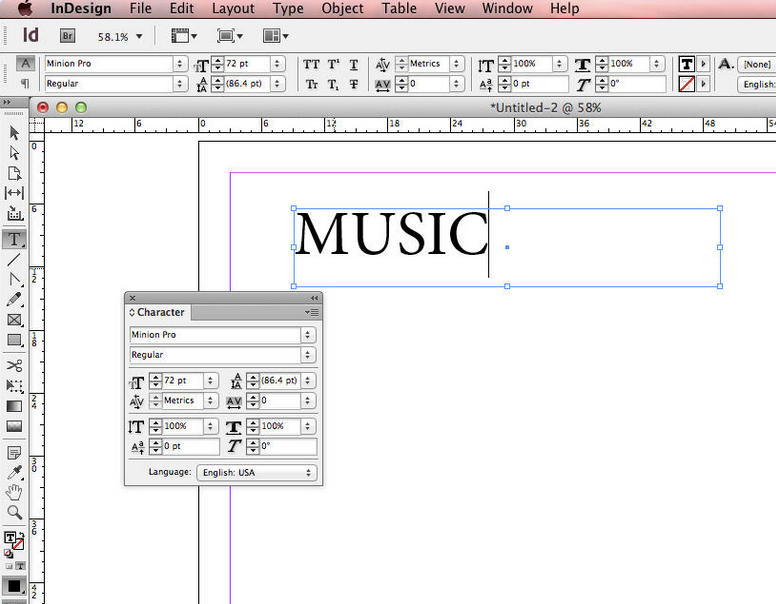
Highlight the word by holding the mouse button down and sliding.
Step 3
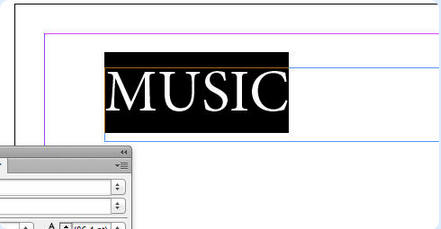
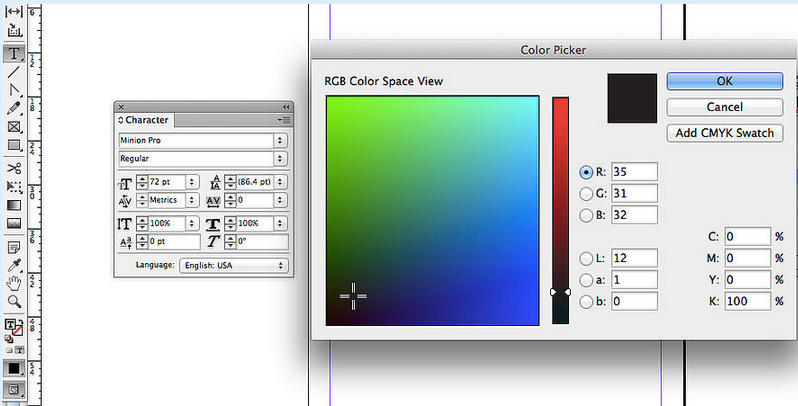
Change the color of your word or sentence!!
Make sure your word is still highlighted. Double Click the FILL BOX.
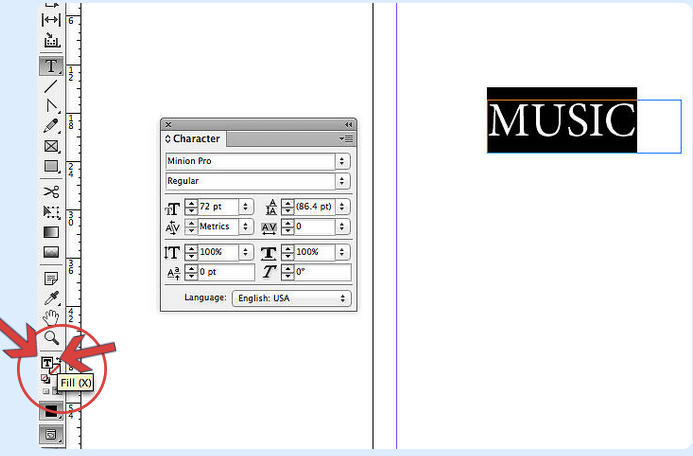
CHOOSE A COLOR and CLICK OK!
Choose the SELECTION TOOL, click on the canvas,and move your text to where you want it.
Step 4
Repeat these steps to create other words or sentences of other colors, fonts, and sizes.
Use one of the ROTATION OPTIONS to turn your text to an angle.
You can always move it around with the SELECTION TOOL.

Keep creating words, rotating them, changing sizes, fonts, and colors.
Soon you will have a SONG LYRIC ART collage!
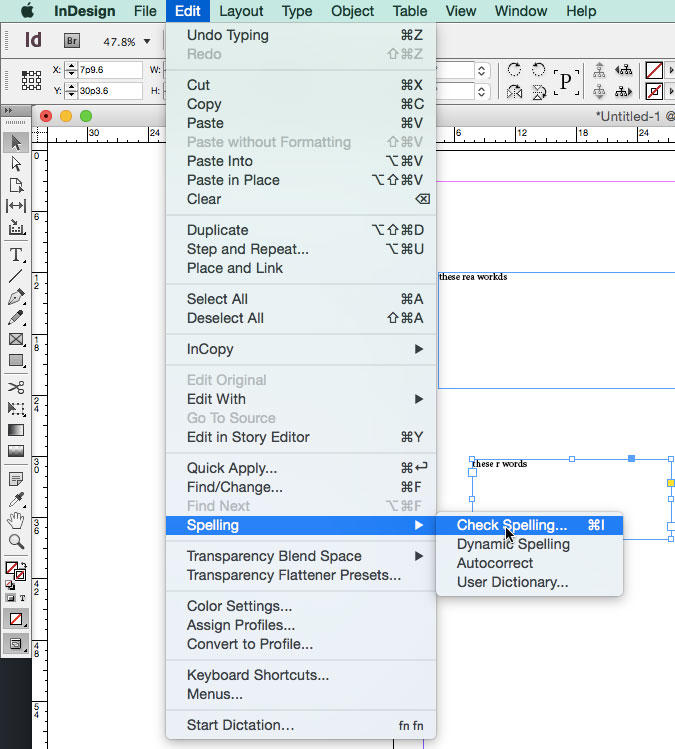
AT THE END, MAKE SURE YOU HAVE NO TEXT BOXES SELECTED, AND CHECK SPELLING! (See Below):
From your program, go to FILE>SAVE AS and choose DESKTOP,
then drag from the DESKTOP to GOOGLE DRIVE and the Correct Class Folder.
Save your final file in Google Classroom.
Just add the file from Google Drive.
Check out the examples at the top of this lesson for some ideas if you are stuck!
This site provides information using PDF, visit this link to download the Adobe Acrobat Reader DC software.